
Python in Excel!
Finally, no more excuses to start to learn python :)

Introduction
Recently, Microsoft presented Python in Excel. I was quite curious how this would work out, so I figured out on how to get the Python in my Excel.
Unfortunately, Python in Excel is still only available as Beta feature, meaning it is not available by default. To be able to test new features, you need to join a different update channel where such Beta features are launched first.
Basically, Microsoft products have some sort of update channel, don’t worry, I did not know what this was either. However, to use Python in Excel, you need to change a few things in your excel installation. In this short post we will explain how to get this cool beta feature in your Excel.

How to install Python in Excel
WARNING: Proceed at own risk.
To install python in excel you must first join Microsoft 365 Insider Program, which is a program where new features are released for early access and testing.
One way to do so is as follows:
Unfortunately, in my case the administrator normally needs to make the changes to my license, however since I got admin rights (I hope you do too) I was able to get into the program using an elevated command line prompt (basically run com.
To change to Beta Channel, use the following command in an elevated cmd.
reg add HKLM\\Software\\Policies\\Microsoft\\office\\16.0\\common\\officeupdate /v updatebranch /t REG_SZ /d BetaChannel
Okay, now you might expect this to work right away, unfortunately I did not get python in excel right away after doing this. First restart excel.
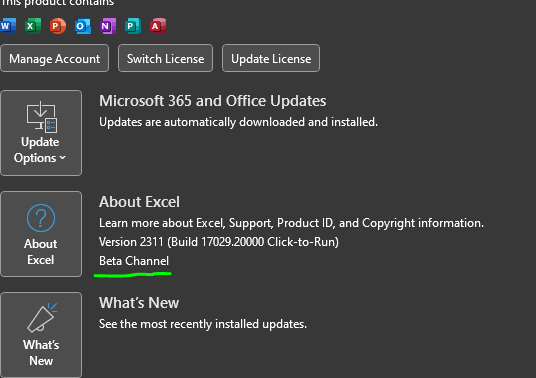
Check if you have Beta channel:
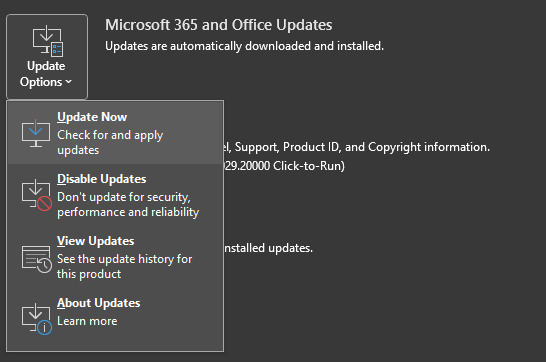
Now you want to ensure to let your excel update, you may need to click under File→Account in your Excel: Update Options →Update now:
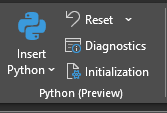
After updating, you can try and have a look if python in excel is available already under the Formulas tab, if it is not yet, you will have to restart your pc. By now it should be available.

Perhaps there is other ways, but I did not investigate easier ways, since this worked for me already. Also this section will become redundant, when Microsoft releases Python for public.
Finally, let’s dive into learning python
First of all a Python formula must be entered in a cell by either:
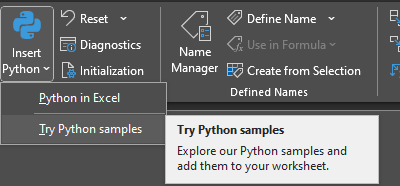
Click “Insert python” button in any cell:
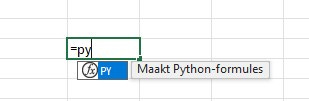
Enter “=py” then TAB:

Now you can enter python style formulas. In this post I won’t dive deep into all the functionalities, but instead give a few examples to get started. In future posts, I would like to showcase some examples where we use more functionalities of Python.
How to load data into a Pandas DataFrame
What Pandas? I thought we were dealing with snakes!? Calm down, Pandas is a very popular library used in Python for handling two-dimensional data structure (DataFrame), like in your excel. A DataFrame is a so-called object implemented in the Pandas library, which has many superpowers.
By default Pandas is already loaded in Python in Excel, so you can start converting your excel data to a DataFrame right away.
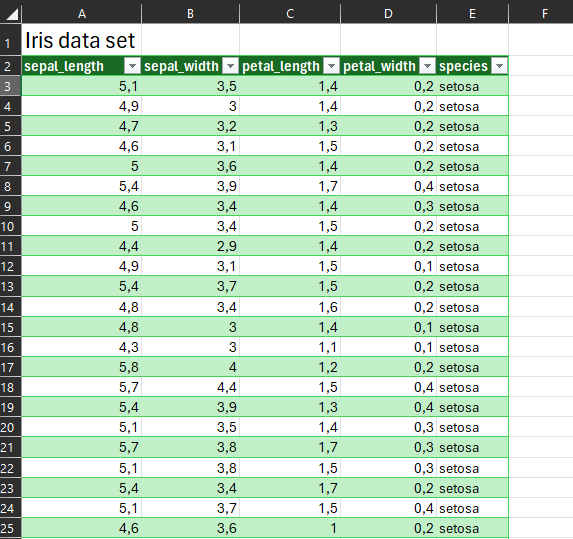
We will use a sample dataset, The Iris Dataset, which is readily available in the examples provided in Python in Excel.
The dataset looks as follows, where the data is already converted to an Excel Table named “IrisDataSet2”.
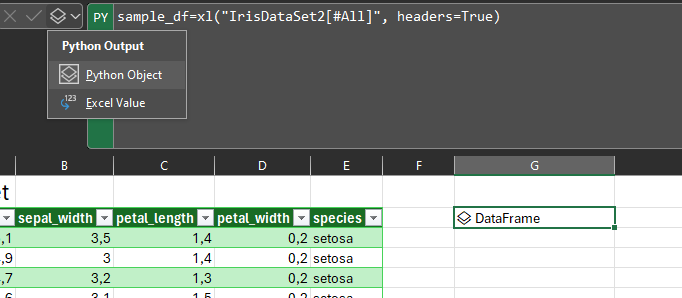
First we load the Excel table into a DataFrame by entering:

What is happening here? Typically in python we will assign a table or a number to a so-called variable. Variable is a reference to that piece of information, that we can use in other cells.
Here, we assign the variable sample_df , the data in Excel (hence the xl() function, note this is native to Excel only), first argument is the reference to the Table name, which is “IrisDataSet2[#All]”, where all columns are loaded. Finally, the variable headers=True is passed to indicate that the names of the columns, such as petal_lenth should also be included in the DataFrame. This is important because we can later call these columns, by their name, instead of numbers to indicate which column to look into.
Alternatively, just enter sample_df = , then manually select the table (including headers), the result will be the same.
Now the cell will show this:
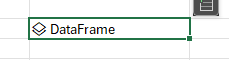
Basically, Excel tells us that we just saved a Python DataFrame in this cell:
If we switch to, Excel value, the Python DataFrame will be shown as Excel data again.
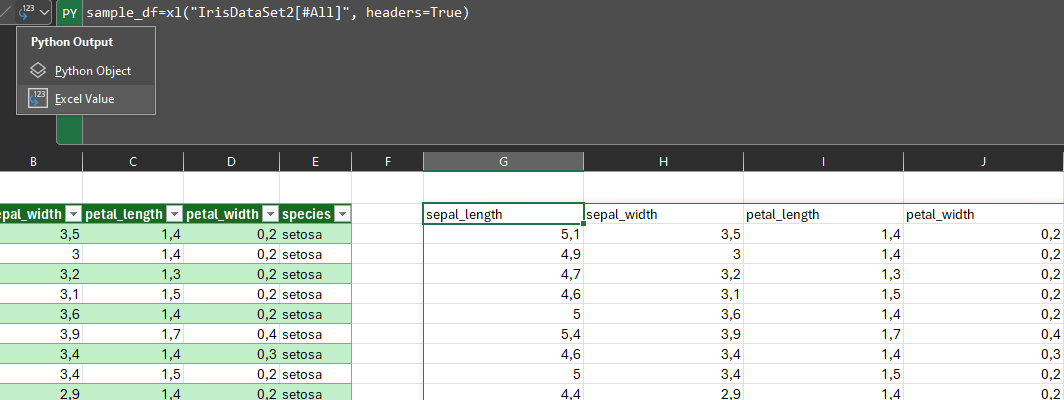
So whenever you have done some calculations in Python and would like to show the result, you will need to convert that cells representation to show as Excel values, rather Python output.
What else?
So, we actually have not done anything useful yet, with this data, but to showcase these superpowers of DataFrames, let’s try a few commands.
The .describe can be applied to a DataFrame, the result is some summary statistics per colums, mean, max, min etc.
Now we will plot some data:
Another useful module that is available is matplotlib, which is basically a library to make all kinds of figures, graphs.
The syntax for a scatter plot is for example:
plt.scatter(x,y) and many more optional arguments that we will not dive into. Where x and y are the data we would like to play, in this case, the data for x is sample_df[‘sepal_length’] and the data for y is sample_df[‘sepal_width’].
This is the standard way on how you call the column of a DataFrame.
Finally, we added x and y axis names using plt.xlabel() and plt.ylabel().
Additional resources
https://matplotlib.org/
https://pandas.pydata.org/docs/index.html